The Settings area gives you options. This is where you control your review content, response messages, and automatic approvals. For a general overview of the Review App click here.
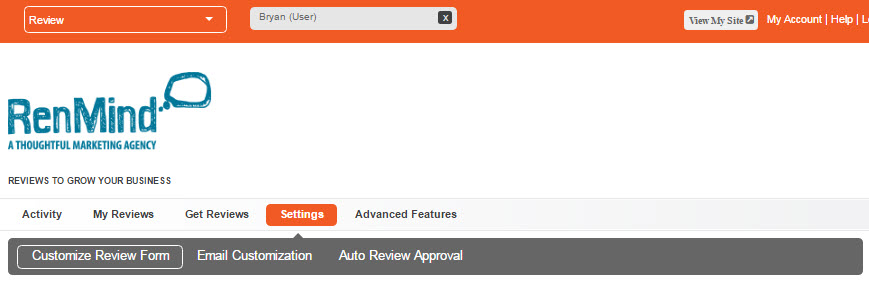
These are the three main parts of the Settings option:
- Customize Review Form – Here you can make your review forms ask the questions you want. You can set labels for star rankings, a recommend scale and a question customers can fill out. You can also set a Thank You message that’s generated directly after a reviewer leaves her comments.
- Email Customization – This is where you set your default review request. If you don’t want to keep typing a message into your ‘Send an Email’ area in the My Reviews feature, you can fill this out and save it. You can use this same message for every request.
- Auto Review Approval – The approval area gives you control on screening reviews. You can set it to keep reviews hidden until you approve them, show all reviews automatically or show them if they are only over a certain star ranking.
Overview of Program Areas
Customize Review Form
This feature lets you make your review request form look the way you want it. It’s broken up in 3 ways:
- Review Labels – This is what you’ll see at the top of the page. You can set three different questions or statements for the reviewers to give a star ranking. You could ask, “How was our service?” or “Did you enjoy your meal?” Alternately you could simply say “Service”, “Quality”, etc… You can set a label to say anything you want. When a reviewer sees these labels he can choose from a range of 1 to 5 stars, and 5 is the highest ranking. You can also check the “Ask how likely a reviewer is to recommend” box and the reviewer will be given a 10 star range to respond.
- Question – This is where you ask a specific question for the reviewer to respond to. It could be anything you really want feedback on. Maybe it’s an area you’d like to improve on, or just something you know you do well and customers will give great feedback. It’s up to you.
- Thank You / Confirmation Page – This is where you set a message that’s automatically generated when someone leaves a review for you. In our experience, thanking someone for going out of their way to leave feedback will go a long way.
There are also more options below on the same page. You can check any of these boxes to enable these options:
- You can send a notification email when someone has left a review. This alerts you every time you have been reviewed.
- Enable Public Reviews lets you include a “Leave a Review” button on the “Read Our Reviews” landing page. So, if someone looks you up to see your reviews you can have a “Leave a Review” button at the bottom of the page. It’s an easy way to encourage new people to participate.
- Hide Question From Review Readers simply allows visitors to see only the feedback left by the reviewers and not the question you asked in step #2 above. This can be helpful if you only want to focus on what your customers are saying about you.
The last option on this page is the ‘Review Dates’ drop down. This is a way to choose which review are displayed based on how long ago they were left. You can simply leave it at “Show all dates” or hide reviews older than 6-months, a year, or all reviews that have ever been left.
Email Customization
This is another way to set a default message for a review request. You can also do this in the Get Reviews area under the ‘Send an Email’ feature. It works the same way: set a message and format it any way you’d like. You can also set variables that will automatically include the recipient’s name, or will include a link to your “Leave a Review” page. We definitely recommend using the variable to include a review link, which is {Review Link}.
Auto Review Approval
This is a powerful tool in the Review App. The Review Approval setting gives you options when it comes to people seeing your reviews. This gives you the option to hide reviews under a certain ranking, but more importantly it gives you an opportunity to view a bad review and contact the reviewer.
These are the main options for your Review Approval preferences:
- Hold all reviews for my approval – this keeps all reviews hidden until you give the okay.
- Automatically approve all reviews – this is one way to approve every review that is left automatically.
- Automatically approve reviews with 3 or more stars – only reviews that average 3 stars on all three of your labels will automatically be posted to your “Read Our Reviews” page.
- Automatically approve reviews with 4 or more stars – only reviews that average 4 stars on all three of your labels will automatically be posted to your “Read Our Reviews” page.
- Automatically approve 5 star reviews – this option will only approve reviews where all labels were ranked 5 stars. You can still view other reviews and “Show” any of them if you want.
Maybe a reviewer had a one-time bad experience. It happens. Even if you receive negative feedback you can still smooth things over with the reviewer. You can offer them a coupon or just ask why they didn’t enjoy the service. We’ve seen a lot of people use Gather Opinion as a way to win customers back.


